Migrate OpenCV System To C++ (Server)
Build a C++ OpenCV Server System with CMake
Python was the language with which the embedded QR code system was prototyped, but it proved to be quite slow. Therefore, the system was migrated entirely to C++ and it worked like magic: it finished executing almost immediately. Some benchmarks on the comparison between the Python and C++ system will be posted soon.
So, since now the system runs on C++, how do we manage all the custom libraries? With CMake, since it takes care of the build pipeline for all the dependency executables and links. Here are some of my notes regarding CMake with OpenCV and custom libraries.
Cmake is cross-platform, open-source build system for managing the build process of software using a compiler-independent method. In most cases it is used to generate project/make files, hence it has produced Makefile which are used to build your software (mostly on Linux/Unix platform).
Cmake allows to provide cross platform build files that would generate platform specific project/make files for particular compilation/platform.
For instance you may to try to compile your software on Windows with Visual Studio then with proper syntax in your CMakeLists.txt file you can launch cmake . inside your project’s directory on Windows platform,Cmake will generate all the necessary project/solution files (.sln etc.).
If you would like to build your software on Linux/Unix platform you would simply go to source directory where you have your CMakeLists.txt file and trigger the same cmake . and it will generate all files necessary for you to build software via simple make.
If you’d like to make platform dependent library includes / variable definitions etc. you can use this syntax in CMakeLists.txt file:
IF(WIN32)
   ...do something...
 ELSE(WIN32)
   ...do something else...
 ENDIF(WIN32)
- CMake sets your project up according to the root
CMakeLists.txtof your project, and does so in whatever directory you executedcmakefrom in the console. It will create a bunch of files, but the only thing you have to worry about is the Makefile and the project folders. If you have, for example, one folder for the source code and another for the library you also use, you would want to have twoCMakeLists.txtfiles for every folder: they will tell themakecommand how to build the actual executable. Then, the project is built, and the executable is ready to be executed.
Including (and compiling) custom libraries
- Once we create our custom library, called
glibwhich is defined usingglib/glib.h(interface) andglib/glib.cpp(functions implementation), we need to tell CMake how to create the executables for main and glib. The directory is the following:
project/
├─ glib/
|   ├─ glib.h
|   ├─ glib.cpp
├─ main.cpp
where main.cpp uses functions in glib.cpp. How do we compile both and tell CMake that one depends on another? First, there must be two CMakeLists.txt: one to compile the main and one for glib. The tree should be:
project/
├─ glib/
|   ├─ glib.h
|   ├─ glib.cpp
|   ├─ CMakeLists.txt
├─ main.cpp
├─ CMakeLists.txt
The ./CMakeLists.txt should look like this:
cmake_minimum_required(VERSION 2.8)
project( main )
find_package( OpenCV REQUIRED )
include_directories( ${OpenCV_INCLUDE_DIRS} )
add_subdirectory(glib)
add_executable( main main.cpp )
target_link_libraries( main ${OpenCV_LIBS} glib)
where add_subdirectory(glib) includes a subdir to the build. The parameter specifies the directory in which the source CMakeLists.txt and code files are located. The command target_link_libraries() should contain a parameter which must have been created by a command add_library(), which is in the CMakeLists.txt file inside the glib/ folder. The file ./glib/CMakeLists.txt looks like below:
add_library(glib OBJECT
    glib.cpp
    glib.h
)
target_include_directories(glib
    PUBLIC ${CMAKE_CURRENT_SOURCE_DIR}/../glib
)
The command add_library(<target>) adds a library called <target> to the build from the source files listed in the command. The name <target> is the logical target name and must be unique in a project. The command target_include_directories(<target>) specifies include directories to use when compiling a given target, and the name <target> must have been created by a command such as add_executable() or add_library().
So far, the folder tree looks as follows:
c++/
├─ glib/
|   ├─ glib.h
|   ├─ glib.cpp
|   ├─ CMakeLists.txt
├─ colorsys/
|   ├─ colorsys.h
|   ├─ colorsys.cpp
|   ├─ CMakeLists.txt
├─ light/
|   ├─ light.h
|   ├─ light.cpp
|   ├─ CMakeLists.txt
├─ noise/
|   ├─ noise.h
|   ├─ noise.cpp
|   ├─ CMakeLists.txt
├─ utils/
|   ├─ utils.h
|   ├─ utils.cpp
|   ├─ CMakeLists.txt
├─ writer/
|   ├─ writer.h
|   ├─ writer.cpp
|   ├─ CMakeLists.txt
├─ main.cpp
├─ CMakeLists.txt
The folder c++/writer/ contains the algorithm, which is used by main. Therefore, the writer.cpp must include the header files for the libraries: glib.h, colorsys.h, light.h, noise.h, since it contains the main image processing algorithm. Then, main includes the header writer.h to get access to said algorithm.
To include a bunch of libraries in one file (writer) and then use it as another dependency inside main, the CMake files were a bit modified:
c++/CMakeLists.txt:
cmake_minimum_required(VERSION 2.8)
project( main )
find_package( OpenCV REQUIRED )
include_directories( ${OpenCV_INCLUDE_DIRS} )
add_subdirectory(glib)
add_subdirectory(utils)
add_subdirectory(noise)
add_subdirectory(light)
add_subdirectory(colorsys)
add_subdirectory(writer)
add_executable( main main.cpp )
target_link_libraries( main ${OpenCV_LIBS} glib utils noise light colorsys writer)
c++/writer/CMakeLists.txt:
add_library(writer OBJECT
    writer.cpp
    writer.h
)
target_include_directories(writer
    PUBLIC ${CMAKE_CURRENT_SOURCE_DIR}/../writer
)

target_include_directories(writer PUBLIC "../glib/" "../utils/" "../light/" "../colorsys/")
- All the end libs CMakes (noise, light, utils, etc) that are only used by
writer.cpp, maintain the same structure:
add_library(noise OBJECT
    noise.cpp
    noise.h
)
target_include_directories(noise
    PUBLIC ${CMAKE_CURRENT_SOURCE_DIR}/../noise
)
Then, everything is compiled and executed as:
cmake .
make
./main
C++ Server
This system will create a QR and send it through an API, and therefore the API should be in a server. C++ is used for low-latency server, and we will find out what does that mean.
Postman Request
The client from which we will send the request is Postman local app.
CURL code for the request:
curl --location --request POST 'http://localhost:8080/' \
--header 'Content-Type: multipart/form-data' \
--form 'image=@"/home/mariana/Documents/github/wispok/hidden-qr-img/c++/input/lenna.png"' \
--form 'qr=@"/home/mariana/Documents/github/wispok/hidden-qr-img/c++/input/qr1.png"'
The request is configured as follows in Postman GUI:

Then on the tabs:
-
Params: NA.
-
Authorization:
No Auth. -
Headers:
-
KEY:
Content-type, VALUE:multipart/form-data.
-
-
Body: Check the bullet
form-dataand enter the following:-
KEY:
image, VALUE: a PNG file, i. e.lenna.png. -
KEY:
qr, VALUE: a PNG file, i. e.qr1.png.
-
-
Pre-request Script: NA.
-
Tests: NA.
-
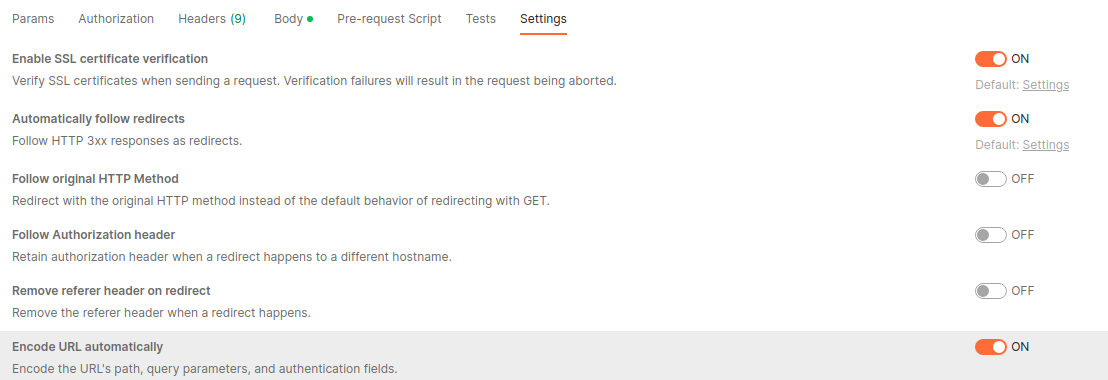
Settings: left as default.
Click on Send and the image will appear as the body of the response:

The raw response is:
POST http://localhost:8080/
200
147 ms
Network
Request Headers
Content-Type: multipart/form-data; boundary=--------------------------266367698870191813465759
User-Agent: PostmanRuntime/7.29.2
Accept: */*
Postman-Token: f41cc5f7-2853-48d2-b9de-8838481b4a82
Host: localhost:8080
Accept-Encoding: gzip, deflate, br
Connection: keep-alive
Content-Length: 479545
Request Body
Response Headers
Content-Length: 973655
Content-Type: image/png
Keep-Alive: timeout=5, max=5
Response Body
The console does not support viewing bodies with media files.
You can replace the “localhost” string in the request url with the IP address. Everytime you change networks, you can find out your IP:
hostname -I
References
- https://lenngro.github.io/how-to/2021/01/05/Simple-TCPIP-Server-Cpp/